
If your paper has been accepted for presentation on the TEEM conference and publication in the conference proceedings, you need to address the issues and requests of the reviewers and prepare the camera ready version and upload it to Easychair before September 3.
Please upload a Word and a PDF version on a .ZIP file.
The Workflow and Templates
Upon acceptance, you will receive an email notification that announces your paper has been accepted for presentation in TEEM 2021 Conference proceedings. Remember that you should strictly follow the ACM process and the final version of your paper must be strengthened with the reviewers’ comments. For paper presentation at the Conference and publication in the Proceedings, registration is required before the end of 30 July 2021. For Important dates see here. The instructions for Word and LaTeX authors are given as follow:
(LaTeX): Proceed to ACM Publishing System (TAPS) and follow instructions.
(Microsoft Word): flow the procedure as follow:
Download the ACM Primary Article Template – Microsoft Word. Please choose the correct template version based on your platform (MAC 2011, MAC 2016, and Windows). Save the .zip file to your local machine. Open the zip file and save the template file to your machine and then open your accepted Submission Document. You can follow these instructions or follow the process as mentioned below to attach the ACM Article Template to your accepted submission version and prepare your paper (still in single-column format) for validation.
First, you have to attach the template for the appropriate version of MS Word your accepted Submission Document as shown below:
Word 2007: Press the Windows button at the top of MS Word and click “Word Options;”
Word 2010 and above: Click on the File menu and select Options, which then opens the “Word Options” dialog box:
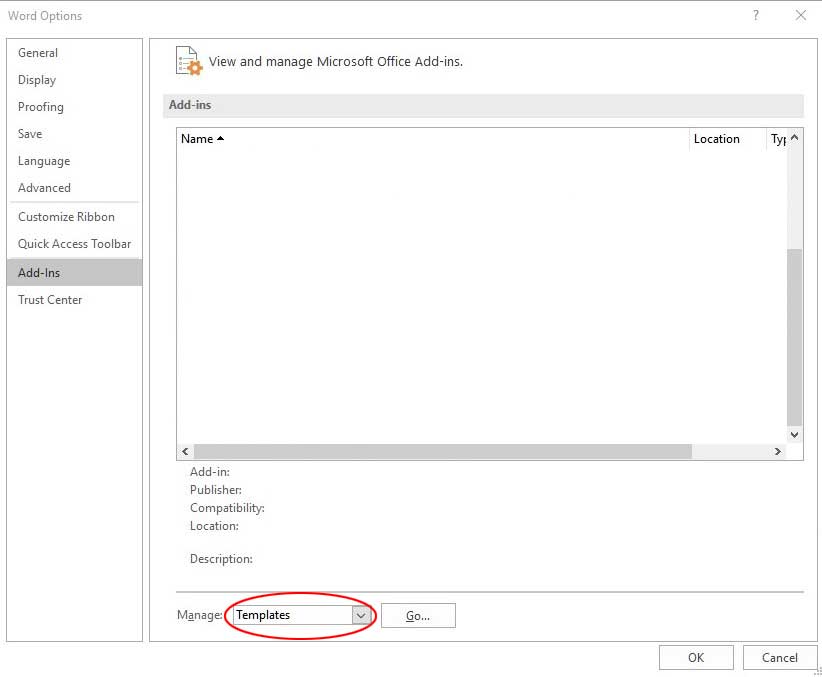
- Select Add-Ins in the “Word Options” dialog box.
- Click on the Manage Drop Down list and select Templates.
- Click the Go button. The Templates and Add-Ins dialog box appears.
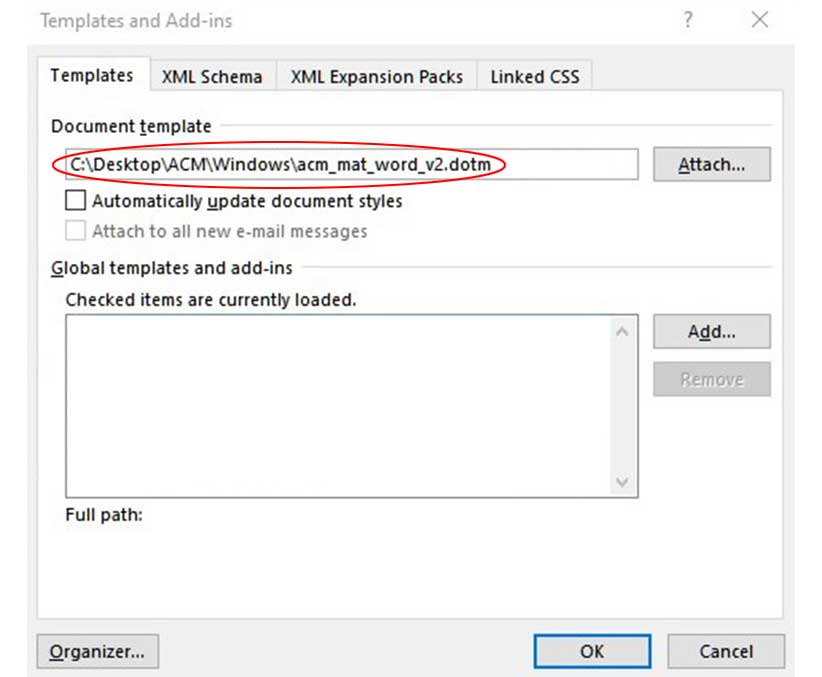
Select the template from the respective location where you have downloaded the template from ACM website and click on the Open button. In the Templates and Add-Ins dialog box, click OK.
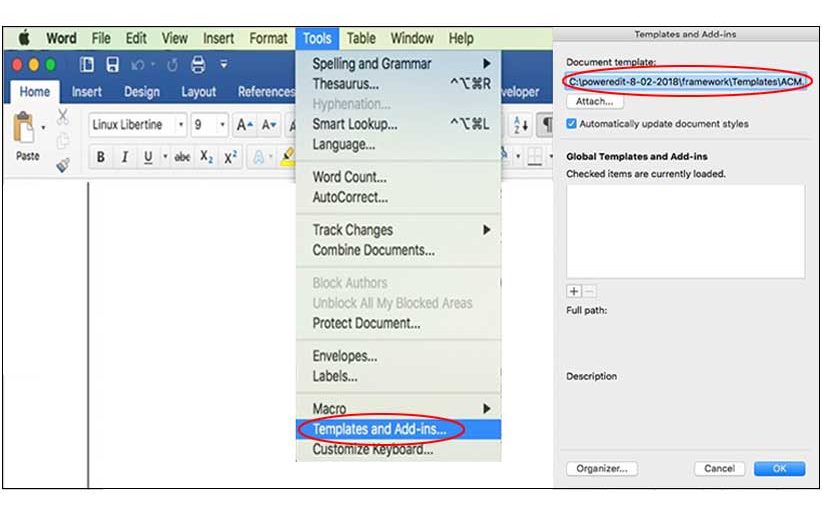
MAC: Go to the Tools menu:
- Click on the Templates and Add-Ins option.
- To select the relevant template, click on the Attach button. Word will display the Attach Template dialog box, which works like the Open dialog box.
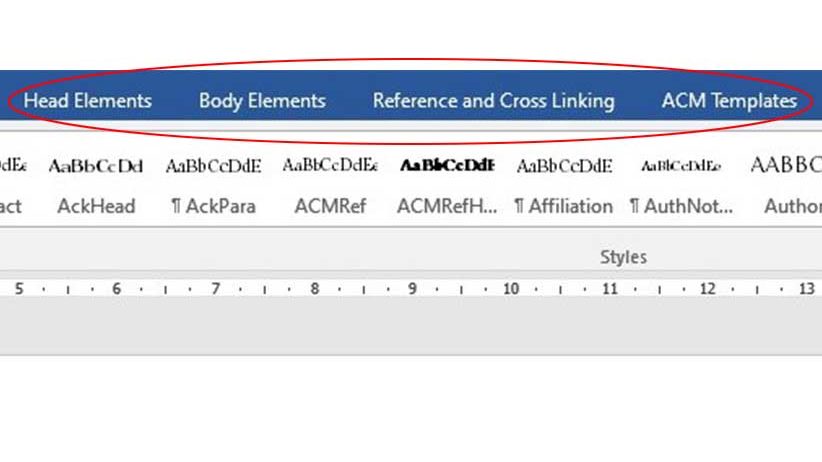
The styles (including macros) stored in the selected template are now available in your document. (Note: If you get the security warning “Macros have been disabled,” select “Enable Content.”) Once you have successfully attached the template, the word menu bar will have additional menu options added (“Reference and Crosslinking” and “ACM Templates”.)
For the next steps, we strongly recommend that you work in draft view. [Click the View menu and select Draft option] so that you can simultaneously view and verify applied styles for section(s) of text you are working with. The Style panel should appear on the left-hand side of the Word File.
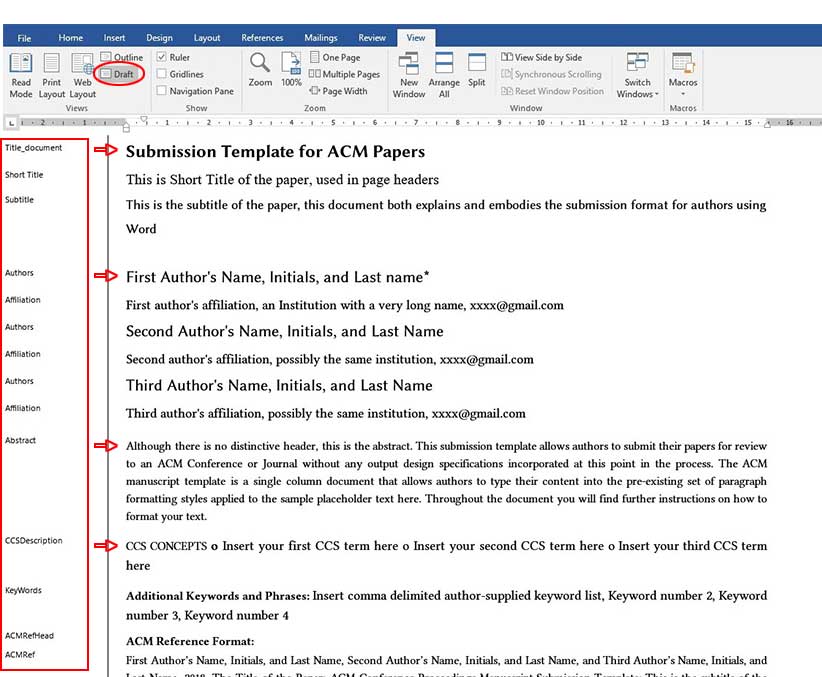
If it does not appear on the screen even after applying the draft view, then you will need to open the panel manually.
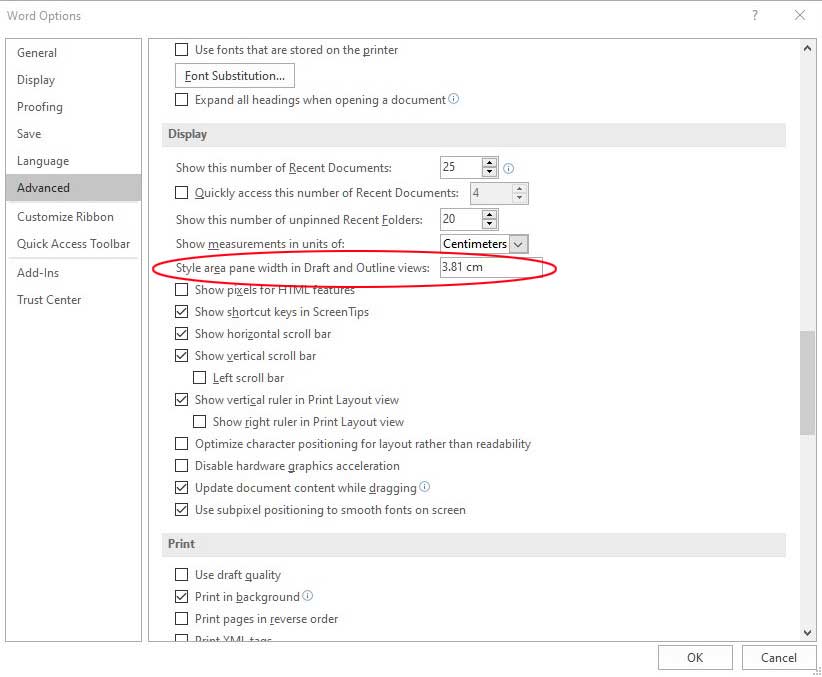
Windows: click on the following from the main ribbon: File > Options > Advanced > Display > Style area pane width in Draft and Outline views. Set the style area width (1–1.5″ or 3.81 cm is a good starting value.);
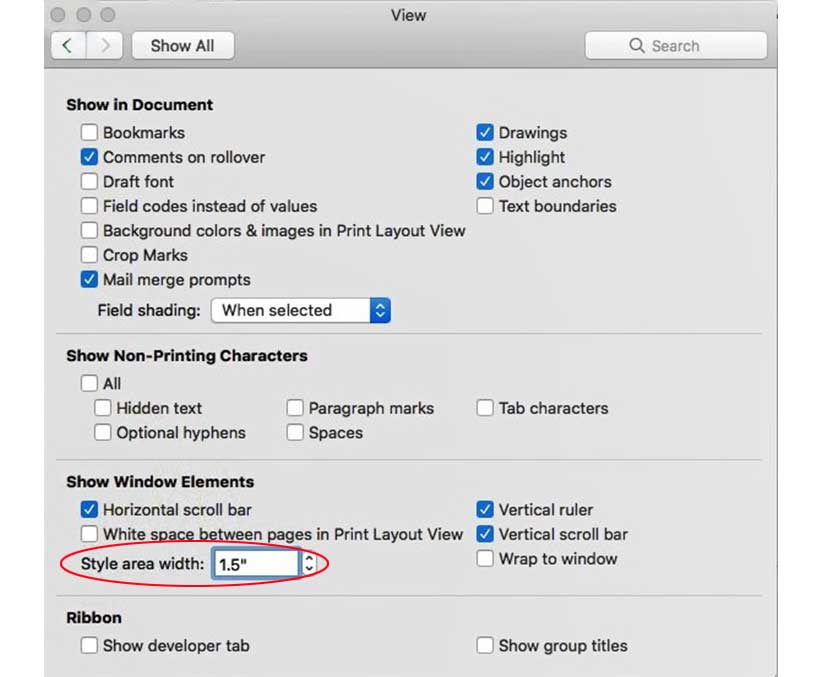
MAC: go to the “View” menu and select “Draft”; then go to the “Word” menu and select “Preferences” and then “View,” under the “Window” section insert “1.5” inches under the style area width.
Now the paper should be in draft view with the style panel on the left-hand side of the document. All the paragraph styles are available in the Style Pane as well as in the customized menu bar (under “Head Elements” and Body Elements” in the toolbar/ribbon). It is mandatory to apply the appropriate style to all the text elements in your paper to avoid errors when submitting it for publication. It is strongly suggested that review each element in your paper to ensure that the correct “style” has been applied to the respective element before moving on to the next steps (Please refer to the submission document instructions if needed for instructions on how to apply the styles to your text). To Insert “alt text” (descriptive text) for any non-decorative figures and tables in your article. For additional information regarding how best to write figure descriptions and why doing this is so important, please see here. The instructions below describe the required steps authors need to follow in order to insert descriptive text for figures (alt-text value).
MS Word 2019 on Windows or Word 2016 and later on Mac:
- Insert a picture in the document.
- Right-click the image and select “Edit Alt Text”.
- In the “alt text” section, provide your text description of the image.
MS Word 2013 and 2016:
- Insert a picture in the document.
- Right click on the inserted picture and select the Format Picture option.
- In the settings at the right side of the window, click on the “Layout & Properties” icon (3rd option).
- Expand Alt Txt option.
- In the “Title” and “Description” text boxes, type the text you want to represent the figure, and then click “Close.”
MS Word 2010/2011 for Windows*:
- Insert a picture in the document.
- Right click on the inserted picture and select the Format Picture option.
- Select the Alt Txt option from the left-side panel options.
- In the “Title” and “Description” text boxes, type the text you want to represent the picture, and then click “Close.”
* The Mac 2011 version 14.0.0 and later allows the option for inserting “alt-text.” In the MAC version of Word 2016, right-click on the image and select “Edit Alt Text” from the pop-up menu and then enter the description for the alt text.
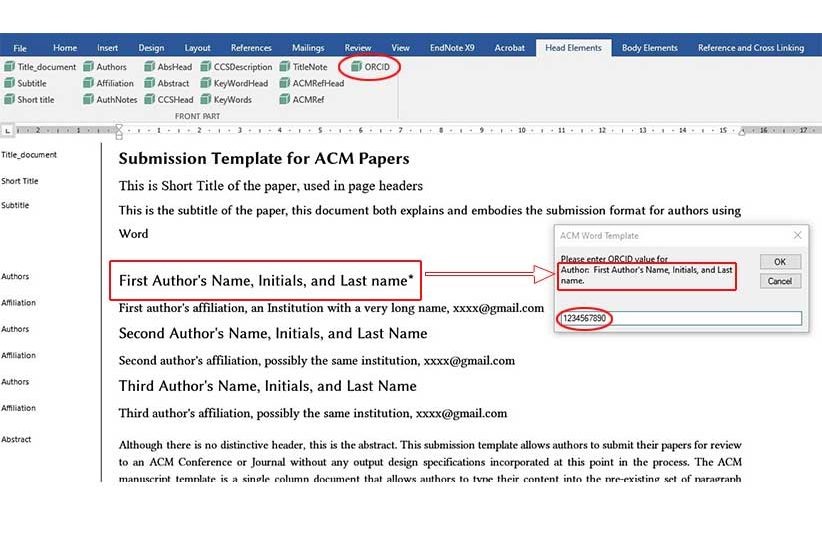
The next step strongly recommends that you insert your ORCID ID number. If you do not have an ORCID ID you may apply for one here. This value will appear in the published HTML output of your paper. It will also be included on your ACM Author Profile Page. The acm_mat_word_v2.dotm template has an option to insert your ORCID under the Head Elements ribbon. Highlight the author’s name in the manuscript (that has the registered ORCID) and then click the ORCID button in the ribbon. A prompt appears with the selected text to add the ORCID value. Insert the ORCID and select the OK button.
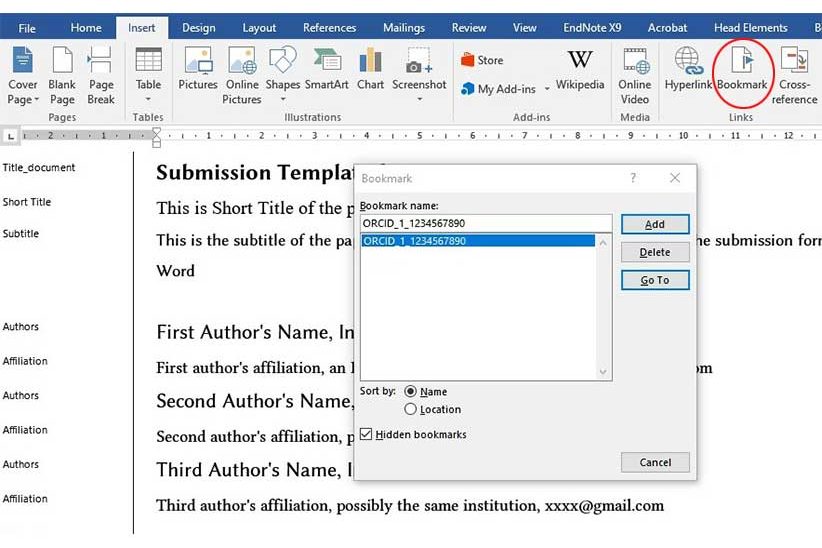
For Verifying the ORCID value: INSERT (from the top menu) > Bookmark. ORCID will be available for review as ORCID_ (count) _ORCID value Which the Prefix is ORCID (fixed text), Count states the Sequence number of inserted ORCID, and ORCID value presents actual ORCID value (e.g. ORCID_1_1234567890, ORCID_2_xxxxxxxxxxx)
For the reference and crosslinking section, there are two types of reference formats (Numbered and Author year):
Numbered reference format:
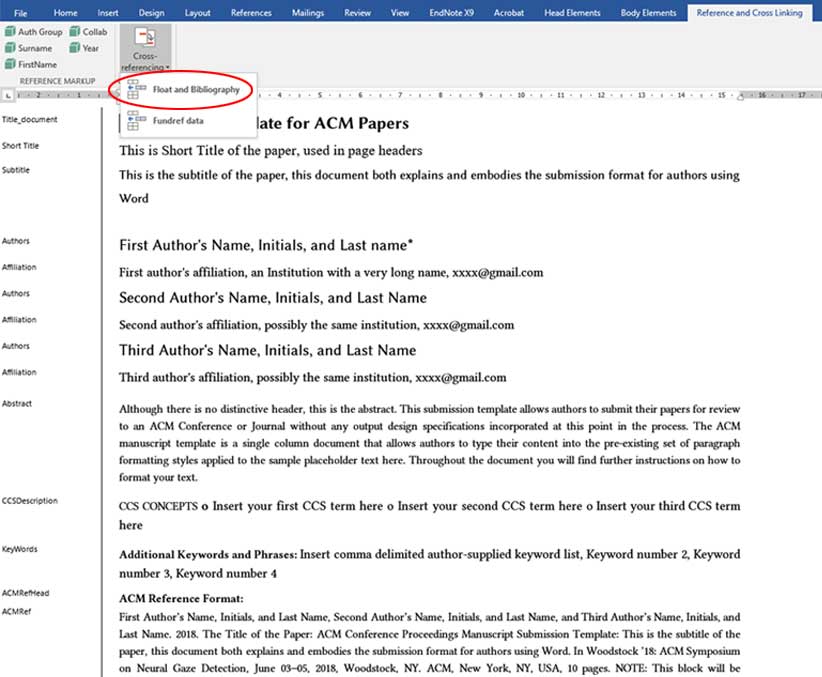
- From the “Reference and Cross Linking” menu, under “Cross-referencing” select “Float and Bibliography.”
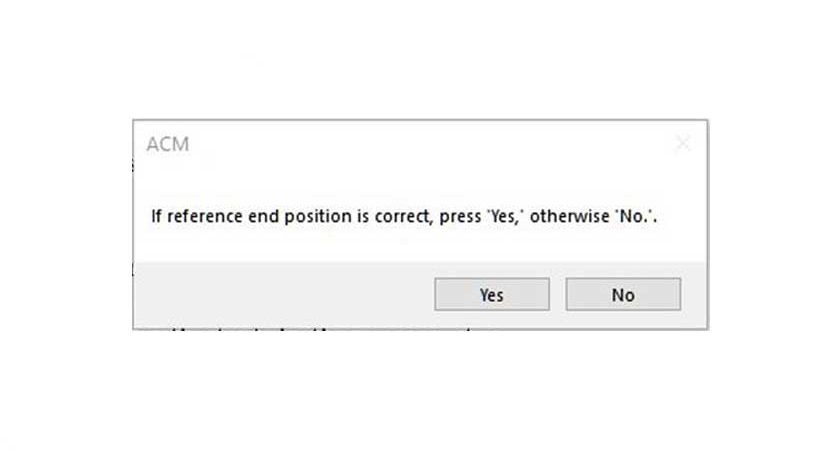
- The first message prompt that will be displayed will ask you to confirm that the reference end position is correct and to select “yes” if it is, otherwise select “no” to fix it.
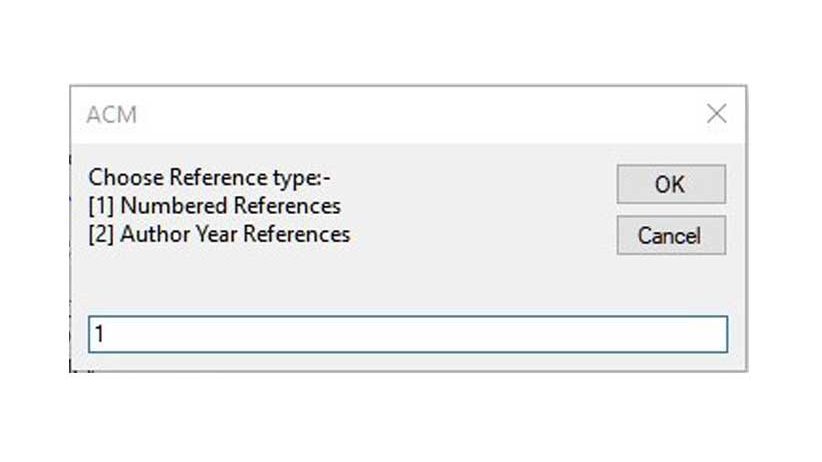
- The second message prompt will ask you to choose the reference type you used in your article—type “1” for the numbered reference style.
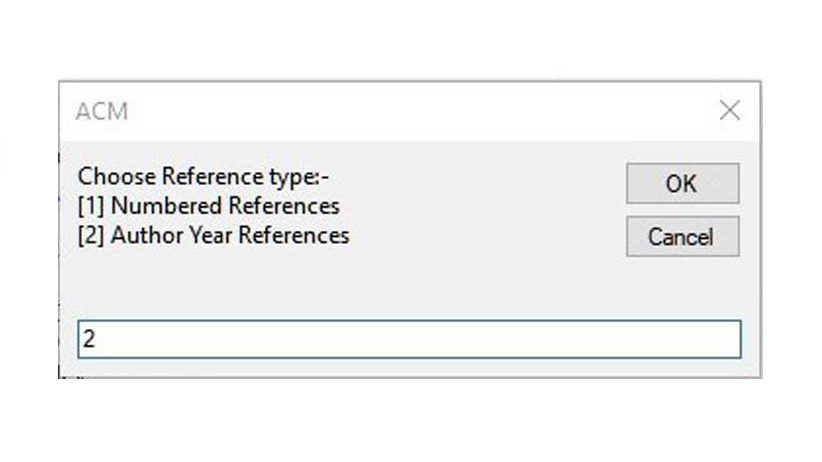
Author year reference format:
If your article uses the author year reference style, then individual reference marking is mandatory for the author’s name (surname, first name) and the year before running the “Reference and Cross Linking” macro otherwise it will prompt an error message during Manuscript Validation. In the author year style references, the author’s name must have these character styles applied: FirstName, Surname, and then have the style AuthGroup (a dotted boundary) applied to the entire name. You can then run the macro as follow:
- From the “Reference and Cross Linking” menu, under “Cross-referencing” select “Float and Bibliography.”

- The first message prompt that will be displayed will ask you to confirm that the reference end position is correct and to select “yes” if it is, otherwise select “no” to fix it.

- The second message prompt will ask you to choose the reference type you used in your article—type “2” for the author year reference style.
The “Float and Bibliography” macro will also cross link all the float elements (figures, tables, equations…etc.) and the bibliography elements with their citations. This macro generates auto labeling to link the citations e.g. If author year citation is like [name, year] in the body text, then the generated labels must be the same as the corresponding citation. When it is completed correctly, you will receive a message prompt stating that the “process completed successfully.” (Please give the macro a few minutes to run as Word may appear/state that it is “Not Responding.) The “Fundref data” option marks all funding sponsor information with its specific number.

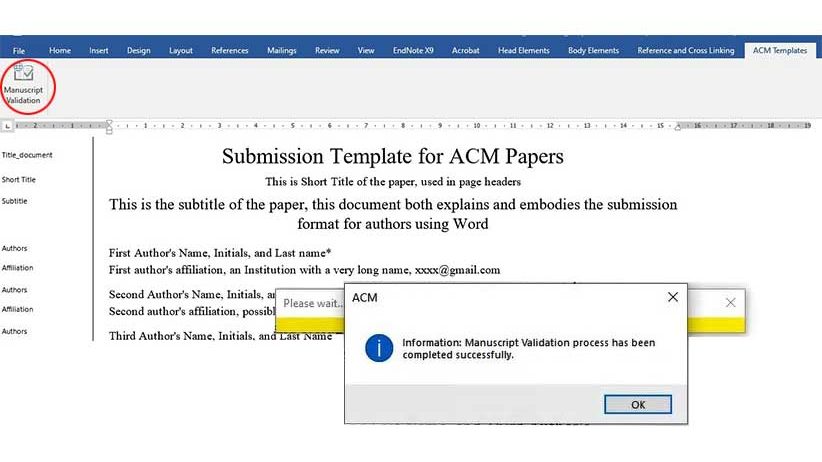
Once you have verified that the correct paragraph styles have been applied to your text and after you complete the above steps, run this macro (found under the “ACM Templates” menu) to check for any errors in the document. If your document does not have any errors, you will receive a message prompt stating that the “process completed successfully.” If your document has any issues, error or warning alert messages will appear to prompt you to correct what is needed. Re-run the macro until it states that the “process completed successfully.”
You can also watch the recorded videos for windows and MAC for visual instructions. When the manuscript validation is completed, the next step is to submit your paper to the ACM publishing system which will format your article as per the specifications of your ACM venue.
Windows:
MAC:
You must upload the camera-ready for your paper (word + pdf file on a zip document), through the EasyChair system and before 03 September 2021 (hard deadline). For Important dates see here.